
By saving individual elements such as specific accommodations, activities, or transportation options, you can efficiently assemble proposals without the need to recreate each component from scratch.
How to save an element?
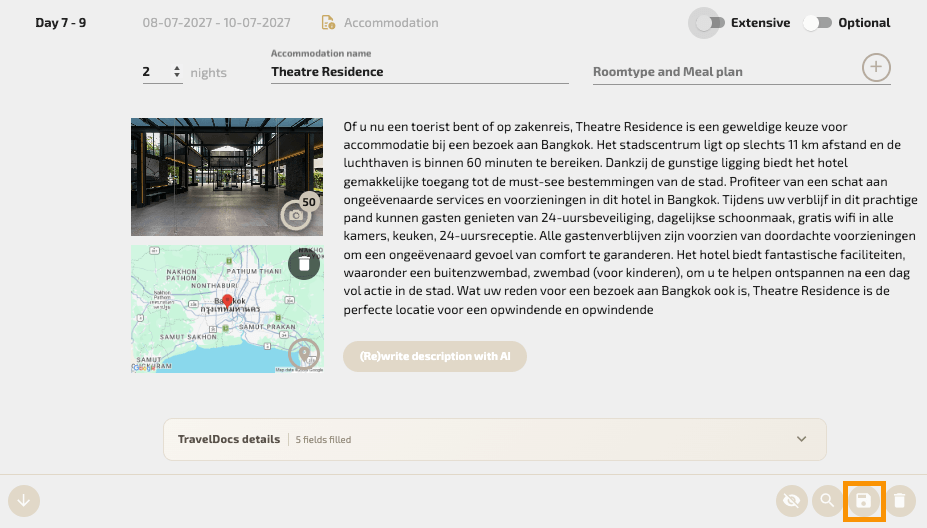
In Step 2, Add Content, locate the specific element (including Flight) within a block that you wish to save.
To save an element, click on the Save icon, which resembles a floppy disk. You’re element is now saved to you personal library.
Accessing saved elements
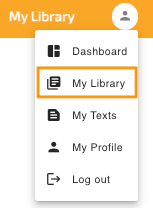
Click on the user icon (a person silhouette) located in the top-right corner and select My Library from the dropdown menu.
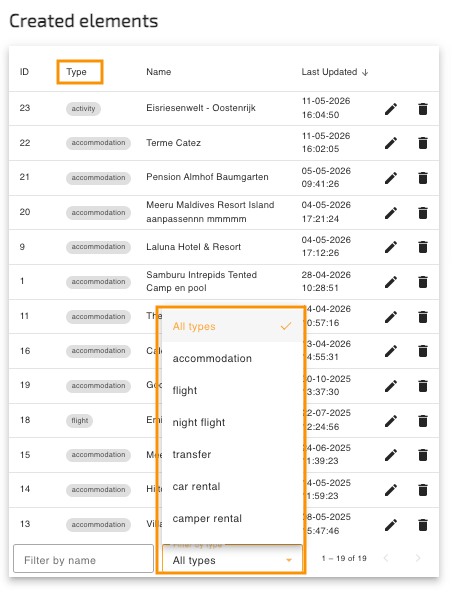
Your library contains all saved elements (and templates). Each saved element displays its element type, making it easier to identify specific content. You can also use the available filter to quickly finds elements by type.
Editing saved elements
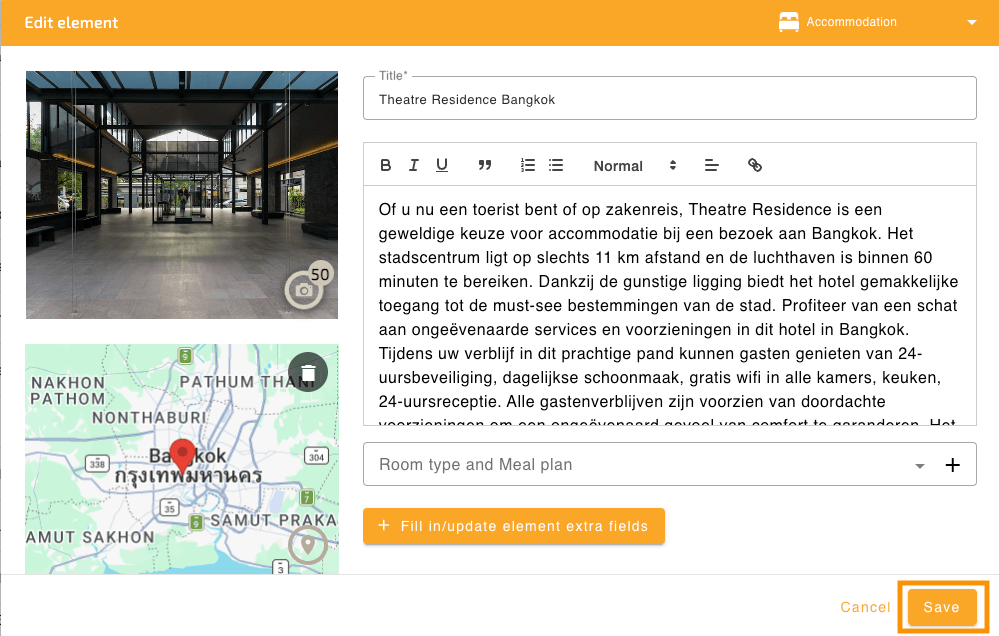
Locate the specific element you wish to edit. Click on the pencil icon next to it to open the editing.
Update the element’s details as needed. Once you’ve made your changes, click Save to apply them.
Updating elements in templates
When you edit saved element, the system automatically checks whether this element is also used in one or more templates.
If the element is used in templates, you will be given the option to apply your changes to those templates as well. This helps keep your template content consistent and up to date without having to edit each template manually.

The same functionality is available when editing an element directly within a template. If that element also exists in your library or is used in other templates, you can choose to update those occurrences with your changes.
By keeping your elements up-to-date, you ensure that your proposals remain accurate and relevant.Here’s how it works with templates. Check out this article.